
Rose Petal Beads

Here's a glimpse into a five day process of making fragrant rose petal beads (perfect for rosary or any kind of prayer/meditation jewellery). This a time-consuming process that requires daily attention, but it's very satisfying to create something from garden to the finished product.
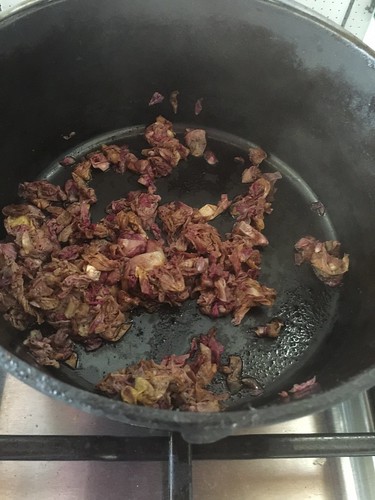
Here the rose petals are beginning to cook with some water and a binding gum. I am not disclosing which kind because I followed a recipe with gum arabic and I was not happy with the results to added another gum at the end. In other words: this is a work in progress and I'm not sure which gum really is the best. When I know something, I'm happy to share it (most of the time). When I'm not sure I would rather not mislead you.
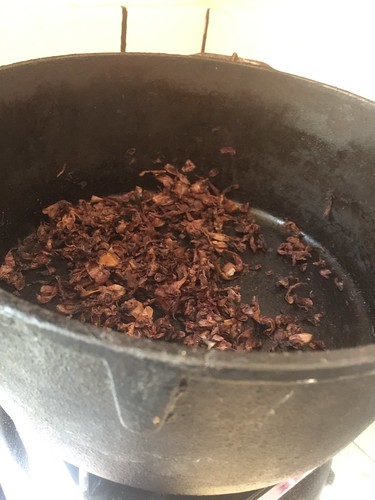
Day 3 or so of rose petal cooking...
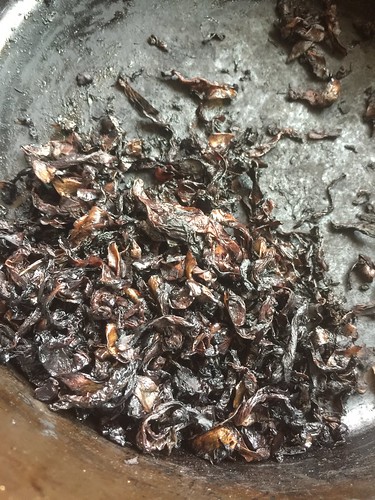
More stewing on day 4. The rose petals are not broken down yet so I've decided to grind them in a food processor.
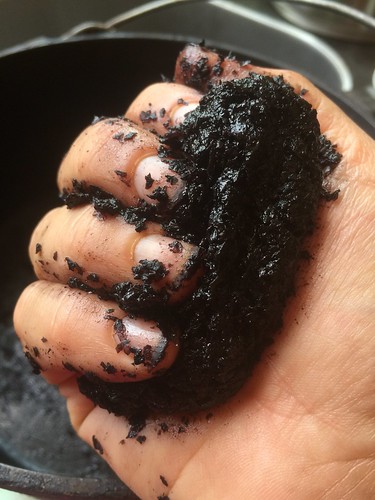
Now it's a nice paste! But still not gooey enough.
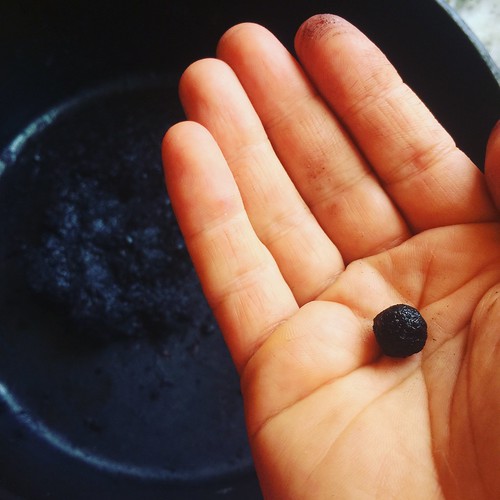
Trying to make a bead (and it wasn't formed well enough, which is why I added more gum on the last day).
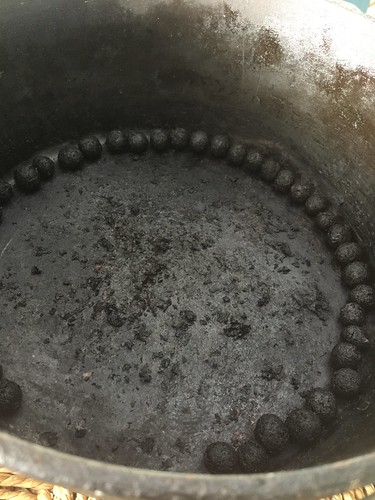
Day five, time for more cooking and finally the fun part: Forming the beads!

Piercing the rose beads, one a time. Nails that I stick into a scrap of foam (styrofoam would probably be a better choice but I didn't have anything handy).
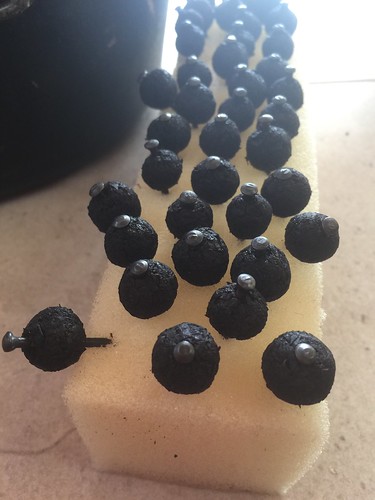
The rose petal beads were left to dry on the nails for about a week (depending on the humidity levels, this can take less time). Make sure to twist them a bit on the nail so they don't completely stick to i.
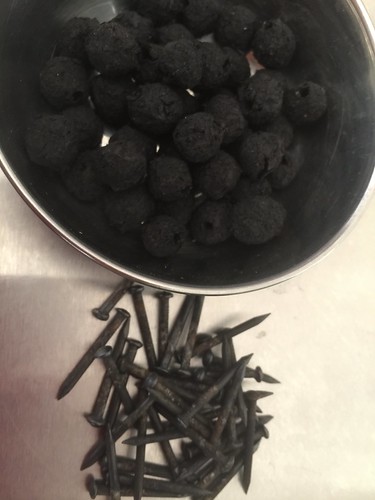
Coming off the nails...
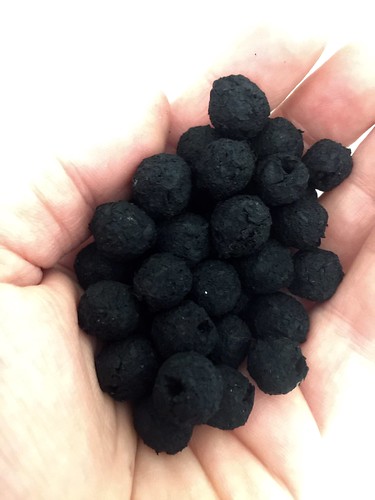
And... voila! Now I just need to decide which kind of jewellery I want to make out of them.
Labels: DIY Project, Perfumed Jewelry, Rosary, Rose Petal, Rose Petal Beads, Summer Activity
posted by Ayala Moriel @ 11:06:00 AM
![]()


0 Comments:
Post a Comment
<< Home